 (2)")
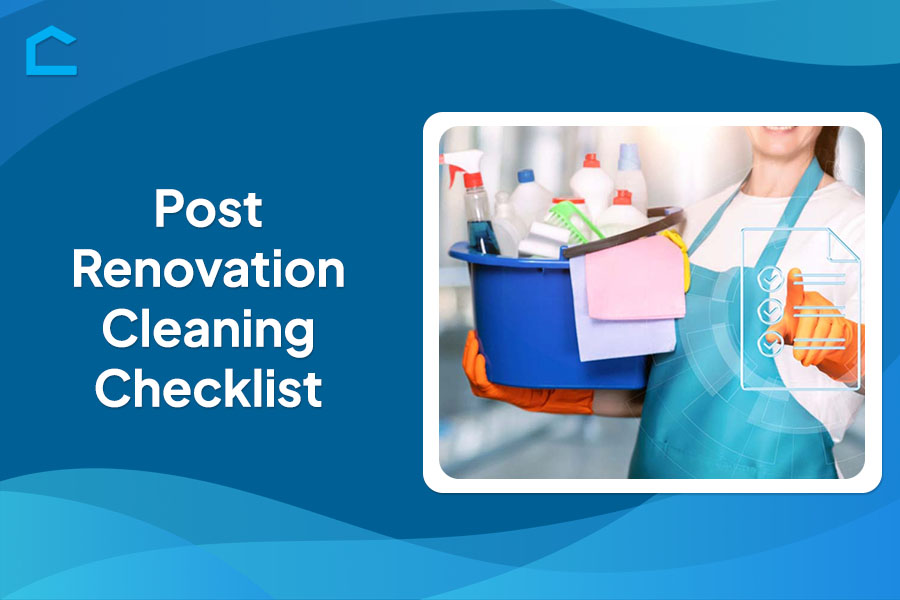
Post Renovation Cleaning Checklist
The dust has settled, and your renovation is finally complete. But before enjoying your newly transformed space, there’s one crucial task – the deep clean. A thorough post-renovation cleaning is essential, as construction projects often leave behind hidden grime and debris.
Tackling this daunting task without a plan can lead to missed spots and lingering odors. That’s where a post renovation cleaning checklist comes in. This guide will walk you through every room and surface, ensuring no corner is overlooked. From sanitizing to polishing, we’ll cover it all. You’ll learn efficient techniques and essential products to tackle tough renovation messes.
Learn how to deep clean after a renovation and bid farewell to sawdust, paint splatters, and residue. Get ready to unveil your renovated haven’s true beauty, free from lingering traces. A spotless, welcoming space awaits with this ultimate roadmap.

Why Do You Need a Post Renovation Cleaning Checklist
A post-renovation cleaning checklist ensures your home is clean and safe after making home improvements. It includes tasks like dusting surfaces, vacuuming or mopping floors, cleaning windows, wiping countertops, and removing debris.
This checklist helps restore your home to its pre-renovation condition, ensuring a fresh and comfortable living space. It’s essential for removing construction dust, dirt, and any leftover materials, allowing you to fully enjoy the results of your renovation.
Understanding the scope of post-renovation cleaning
Post-renovation cleaning is a deep clean to remove all construction debris/residue – dust, dirt, and leftover materials. It involves thorough cleaning of every area – ceilings, walls, floors, fixtures.
Surface cleaning alone is insufficient – construction embeds grime/contaminants deep into surfaces. Specialized techniques/equipment are needed to dislodge stubborn dirt/dust that vacuuming/wiping can’t remove.
Addressing both visible (dust, debris) and invisible remnants (drywall particles, paint fumes) is crucial for indoor air quality and health. Comprehensive cleaning ensures a safe, pollutant-free environment after renovation.
How to Clean After Renovation
Cleaning different rooms
When cleaning after a renovation, it’s important to have a room-by-room checklist.
Kitchen
- Thoroughly clean cabinets, countertops, appliances, and floors
- Remove construction dust and debris from hard-to-reach areas
- Check inside drawers, shelves, and behind appliances
Bathrooms
- Scrub toilets, tubs, showers, sinks, and vanities
- Remove grout or caulk residue from tiles and fixtures
- Clean exhaust fans, mirrors, and wipe down walls
Bedrooms and living areas
- Vacuum carpets and rugs thoroughly
- Dust ceiling fans, window sills, and baseboards diligently
- Wipe down furniture, light fixtures, and clean floors
General cleaning checklist
- Use microfiber cloths and vacuums with HEPA filters
- Start cleaning from top to bottom, focusing on walls, ceilings, and floors last
- Check for lingering debris or dust in corners and crevices
- Dust all surfaces, including hard-to-reach areas
- Vacuum using a HEPA filter to capture fine particulates
- Mop floors thoroughly, reaching corners and edges
- Wipe down surfaces, fixtures, windows, and mirrors
Cleaning newly installed or refinished surfaces
When cleaning newly installed or refinished surfaces, it’s crucial to follow guidelines to avoid causing damage. Read manufacturers’ care instructions for new surfaces and use only approved cleaning products and methods.
Avoid abrasive tools or cleaners that could scratch or dull finishes. Use gentle cleaning agents like a wood floor cleaner and soft mop for hardwood floors. For countertops, use mild detergent and a soft cloth. Use glass cleaners formulated for streak-free results on mirrors and windows.

How to Deep Clean After a Renovation – Special Considerations
Removing construction dust and debris
Removing construction dust and debris requires special considerations. Construction dust is extremely fine and can penetrate deep into crevices, vents, and other hard-to-reach areas.
To effectively remove this dust, use a vacuum with HEPA filtration and crevice tools. HEPA filters capture even the smallest dust particles, while crevice tools help dislodge debris from tight spaces.
Consider renting or hiring professional cleaning equipment like HEPA-filtered air scrubbers. These devices can remove airborne particles effectively. Alternatively, opt for industrial-strength vacuums with powerful suction for deep cleaning.
Appropriate tools and techniques
Using the right tools and techniques is crucial when deep cleaning after a renovation. Improper methods can further embed dust and debris or cause damage to newly installed surfaces and finishes.
Avoid using rough scrubbing pads or abrasive cleaners, as these can scratch or dull newly refinished floors and countertops. Instead, stick to microfiber mops, clothes, and gentle cleaning solutions.
Protect surfaces during deep cleaning processes. Cover floors, cabinets, and furniture with plastic sheeting. This prevents potential scratches or staining from cleaning products.
Final Touches and Inspections
Final walkthrough
After completing the cleaning process, conduct a thorough final walkthrough to inspect every room and area that underwent renovation. Check for any missed spots or lingering issues by bringing a checklist and noting areas needing further attention.
Look for dust buildup in corners, crevices, or hard-to-reach spots, and examine surfaces closely for smudges, streaks, or residue. Check for any leftover construction materials or waste. Make sure all debris has been properly removed and disposed of. Inspect HVAC vents and returns for any built-up dust or particles.
Overlooked areas and issues
During the walkthrough, pay special attention to often-overlooked areas. These include inside cabinets, closets, behind large appliances or furniture, window tracks, door jambs, and baseboards.
- Note any persistent odors that may require additional cleaning
- Address any scratches, scuffs, or damage to newly installed surfaces
- Identify areas where touch-ups or repairs may be needed
If any issues are identified during the walkthrough, address them promptly. Reclean any areas that still show signs of dust or debris, utilizing specialized cleaning products or techniques as needed. For persistent odors, consider using air purifiers or ozone generators.
If necessary, hire professionals for repairs, touch-ups, or deep cleaning. Conduct a final inspection to ensure all issues have been resolved satisfactorily before completing the post-renovation cleaning process.

Conclusion
With this comprehensive post renovation cleaning checklist, we hope you now feel equipped to tackle the daunting task of post-renovation cleaning with confidence. From top to bottom, room by room, we’ve covered the essential techniques, products, and strategies.
These will help you restore your space to a pristine, welcoming haven. This article has helped you understand the importance of a thorough, deep clean after construction work. It ensures no lingering grime, debris, or odors tarnish your newly renovated home.
By following this ultimate roadmap, you can bid farewell to sawdust, paint splatters, and construction residue. This will unveil the true beauty of your transformed living space. With a spotless, refreshed abode, you can now fully embrace and enjoy the fruits of your renovation project, making every effort worthwhile.