How to Remove Subfloor

Home renovations often require tackling the foundation – the subfloor. Whether you’re dealing with water damage, structural issues, or simply updating your living space, removing the existing subfloor is a crucial step. But do you know how to remove subfloor?
This comprehensive guide dives into the intricacies of subfloor removal. We will cover topics such as assessing the subfloor’s condition and gathering the necessary tools and materials. We will also discuss safety measures to prevent injuries.
By following the detailed guidelines, you’ll gain confidence in removing the subfloor, paving the way for a successful renovation or repair project.

How to Remove Subfloor
Removing a subfloor involves a few steps. First, you need to check the subfloor’s condition and gather your tools and safety gear. Then, take off any flooring that’s covering it. After that, you can use tools like a circular saw or reciprocating saw to cut the subfloor into smaller pieces.
Once that’s done, carefully take out each section of the subfloor, watching out for any nails or screws. Make sure to dispose of everything properly and tidy up the area before installing new flooring.
Manual removal
Manual removal of a subfloor is a labor-intensive but controllable process. First, prepare the area well. Clear out all furniture and objects, and cover nearby areas with drop cloths or plastic sheeting to keep dust and debris contained. If it’s a big area, a circular saw can speed things up.
Next, cut parallel lines about 12 inches apart across the subfloor. This makes it easier to remove in sections. A reciprocating saw is useful for tight spots near walls or framing.
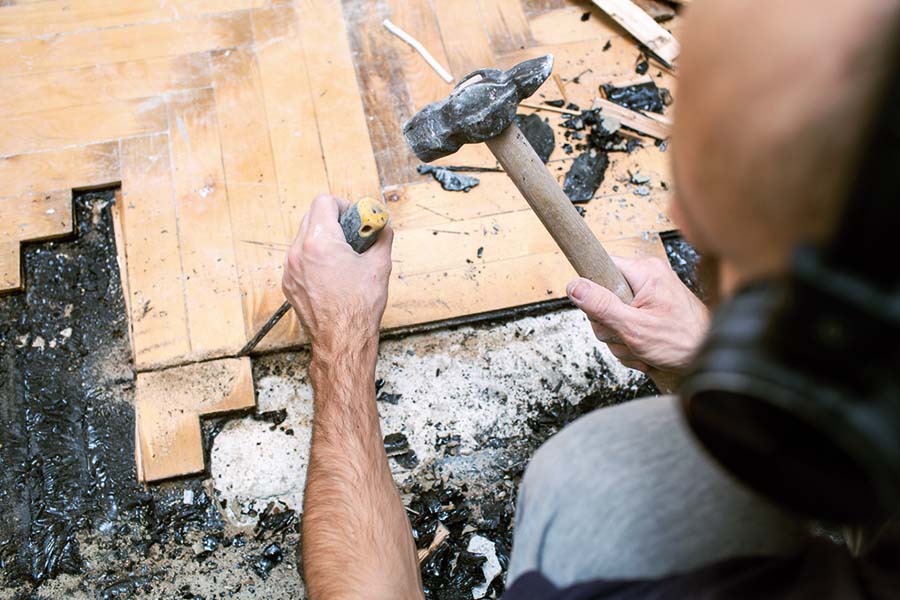
We advise you to be careful of any nails sticking out as you remove the boards. You can either bend them over with a hammer or pull them out with pliers to avoid getting hurt by sharp edges.
Lastly, make sure you dispose of the old subfloor materials correctly. You should follow local regulations for construction and demolition waste disposal.
Mechanical removal
Mechanical removal methods for subflooring involve the use of power tools to expedite the process. While faster than manual techniques, we must point out that these methods require extra caution and safety precautions.
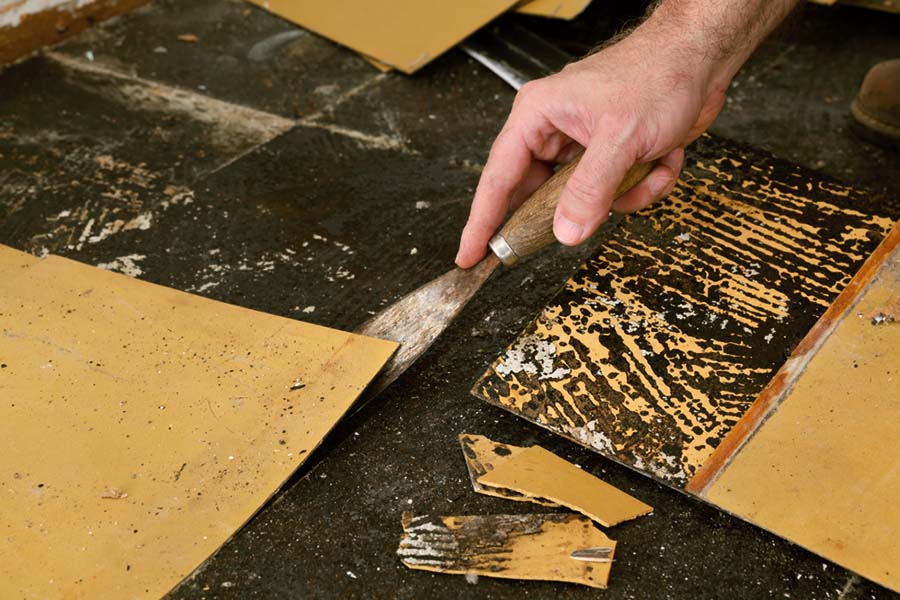
One common mechanical tool is a power floor scraper – a gasoline or electric-powered machine with a sharp blade that cuts through subfloor materials. When learning how to remove the subfloor from the joists, it’s important to carefully guide the floor scraper in the direction of the joists to avoid damaging the underlying framing.

Power tools for subfloor removal
The key advantage of mechanical removal is speed and efficiency. Power tools allow for much faster removal compared to manual methods, making the job less physically demanding. However, this speed comes with some limitations.
Power tools are noisier and create more dust that requires containment. They also have a higher risk of accidentally damaging framing or utilities if not operated with precision.
Ultimately, assessing the scope of the project is critical. You need to consider the subfloor materials involved and any budgetary or timeline factors. This will help determine if mechanical removal methods are the ideal approach. Regardless of the technique chosen, prioritizing safety by using proper protective gear and following best practices is crucial for successful subfloor removal.
How to Remove Subfloor From Joists
Removing the subfloor while preserving the joists is crucial for structural integrity. Here are the steps you need to follow:
- Assess the condition of both subfloor and joists before removal. Address any damage, rot, or infestations first.
- Cut the subfloor into sections using a circular or reciprocating saw, cutting along the length of the joists.
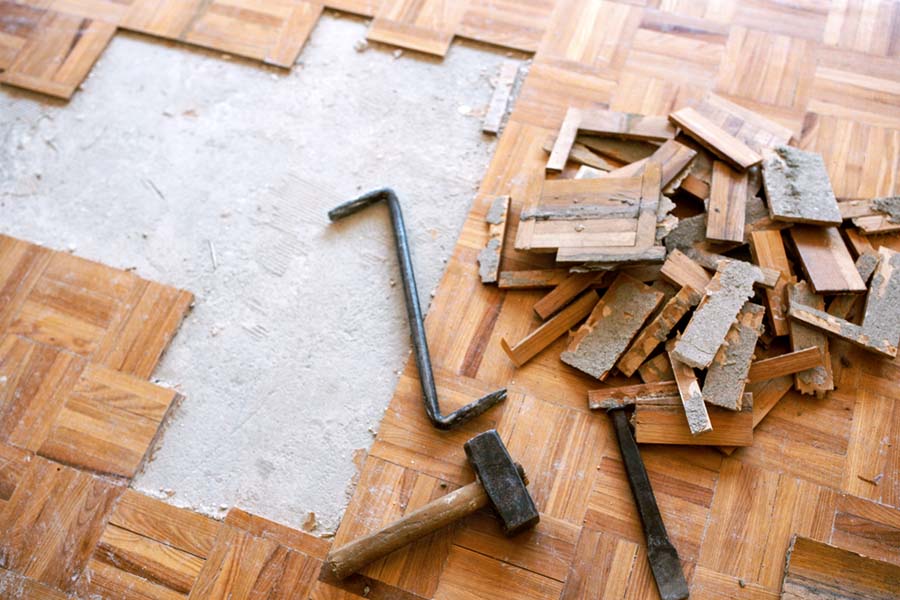
- Use a pry bar to lift each section, sliding it along the joists. A hammer can help remove stubborn pieces.
- Prioritize safety by wearing protective gear like gloves, goggles, and a dust mask. Work carefully to avoid damaging the joists or injuring yourself from protruding nails or debris.
- Proper disposal of the old subfloor materials is also important. Check local regulations for guidance.
- Take breaks as needed to avoid fatigue during this physically demanding task.
Safety Precautions
When you’re removing a subfloor, your top priority should be safety. Make sure to wear proper protective gear like work boots, gloves, and a respirator or dust mask. This will help protect you from sharp objects, splinters, and dust inhalation. If you notice mold, take extra precautions or seek professional remediation services.
It’s important to identify any load-bearing walls, beams, or joists that support the weight of the structure. Don’t remove or alter these structural elements without seeking expert guidance. Doing so could compromise the building’s integrity.
We recommend you avoid stepping on or damaging floor joists. For larger areas, you might want to consider using temporary support beams or jack posts. Also, make sure to handle and dispose of any hazardous materials, such as asbestos or lead, in accordance with regulations.
Throughout the removal process, prioritize structural integrity and be cautious to prevent accidents or injuries. Plus, proceed with care and follow best practices to ensure a safe and successful subfloor removal.
How Much Does It Cost to Remove Subfloor?
Removing a subfloor can vary in cost, depending on a few factors. The size of your project plays a big role. Bigger areas mean more work and materials, which can drive up the cost.
How intricate the job is matters, too. If you remove subfloors from upper levels or the layout is complicated, it’ll take more time and effort, thus increasing the cost.
When it comes to labor, hiring professionals versus doing it yourself affects the cost. Also, if you need to dispose of old materials or rent a dumpster, that adds to the expenses. And if hazardous materials like asbestos are present, you’ll need professionals to remove them, which adds to the cost.
If there’s any damage to the framing or if you need to install new subflooring, that adds more to the total cost. It’s a good idea to get quotes from different contractors to understand all the expenses for your specific project.

Conclusion
Removing a subfloor can seem daunting, but with the right knowledge and approach, it’s an achievable task. We provided the necessary insights to tackle how to remove subfloor safely and effectively.
From assessing the condition of the existing subfloor to implementing proper safety measures, you now have a strategic plan to follow. Whether you opt for manual or mechanical removal methods, prioritize caution and follow best practices to prevent accidents or injuries.
With the step-by-step instructions provided, you can confidently embark on your renovation or repair project. This paves the way for a successful subfloor installation and a beautifully transformed living space.
