How to Cut Pavers

Cutting pavers precisely can transform an ordinary installation into a masterpiece of hardscaping. Whether you’re creating an intricate pattern for your patio or working around curved edges, knowing how to cut pavers is essential. This skill proves valuable for both DIY enthusiasts and professional landscapers.
While the task might seem daunting at first, proper techniques and tools make it possible to achieve clean, professional cuts that can enhance the overall appearance of your project.
Master the art of paver cutting with this comprehensive guide. From selecting the right tools to executing precise cuts across different materials, we’ll walk you through every step to help ensure success. Mastering these cutting techniques builds confidence for complex projects.
By the end, you’ll be ready to create custom designs in concrete pavers, natural stone, or brick that make your outdoor space stand out. So, join us as we unlock the secrets to professional-grade paver cutting that will elevate your hardscaping projects.

How to Cut Pavers
Cutting pavers requires careful planning, precise measurements, and the right technique for clean, professional results. Before laying the pavers, ensure you have accurately measured the area and planned your design, as proper cutting can ensure a seamless fit.
The cutting process begins with clearly marking the cut line on the paver using a carpenter’s square and weatherproof marker, ensuring accurate measurements.
Before making any cuts, always wear appropriate safety gear including eye protection, ear protection, and a dust mask. Setting up your cutting station on a stable, flat surface helps maintain better control during the cutting process.
Tools needed for cutting pavers
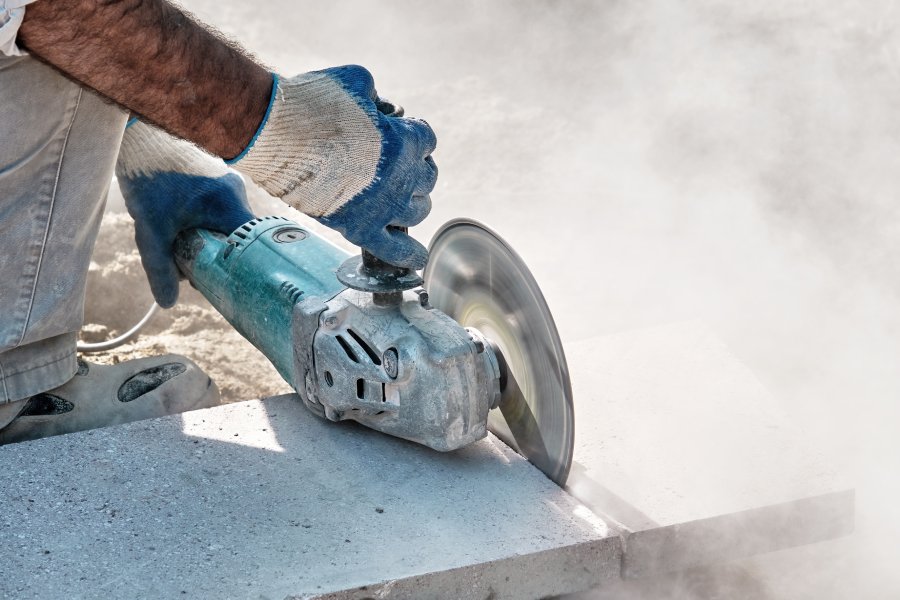
The most common tool for cutting pavers is a gasoline-powered concrete saw equipped with a diamond blade. It provides the power and precision needed for straight cuts. For smaller projects, a manual hammer and chisel or electric angle grinder fitted with a masonry blade can effectively split pavers.
After cutting, it’s important to clean the pavers to remove any dust or debris that might have accumulated during the process, ensuring a smooth surface for installation.
Additional essential tools include measuring tapes, marking implements, safety equipment, and a water source for wet cutting to minimize dust. Having a sturdy workbench or saw horses helps create an ideal cutting height for comfortable operation.
Can you cut pavers with a tile saw?
While tile saws can cut pavers, they have significant limitations due to their design and power output. Most tile saws are best suited for pavers under two inches thick, making them suitable only for thin architectural pieces.
When preparing the area for installation, it’s important to consider what to put under pavers for proper support and drainage, such as a layer of sand or gravel. This foundation helps ensure that the pavers stay level and stable over time.
Professional-grade tile saws with larger motors and diamond blades may handle thicker pavers, but the process is slower and may result in uneven cuts. These tools work best when cutting thin veneer pavers or making precise cuts on smaller decorative pieces.
Measuring and marking the pavers
Begin by determining your cut line and adding 1/8 inch for any joint spacing needed in your installation pattern. Using a carpenter’s square and straightedge, draw your cutting line with a weatherproof marker on both the top and sides of the paver.
For curved cuts, create a paper or cardboard template first, then transfer this pattern onto your paver surface. Double-check all measurements before cutting, as precise marking is crucial for professional-looking results.
Before starting your project, be sure to check local regulations, as you may need a permit for laying pavers, especially if the installation involves altering drainage or other structural changes. It’s always a good idea to confirm with your local authorities to avoid any legal issues down the line.
Cutting pavers with a masonry saw
Start by setting up your masonry saw on level ground and filling the water reservoir to ensure proper blade cooling. Position your paver firmly against the saw’s guide fence, keeping your hands well away from the cutting area.
Make your cut slowly and steadily, letting the blade’s weight do the work without forcing the paver through. For thicker pavers, consider making the cut in two passes – one shallow cut followed by a deeper finishing cut.
Cutting pavers with a chisel and hammer
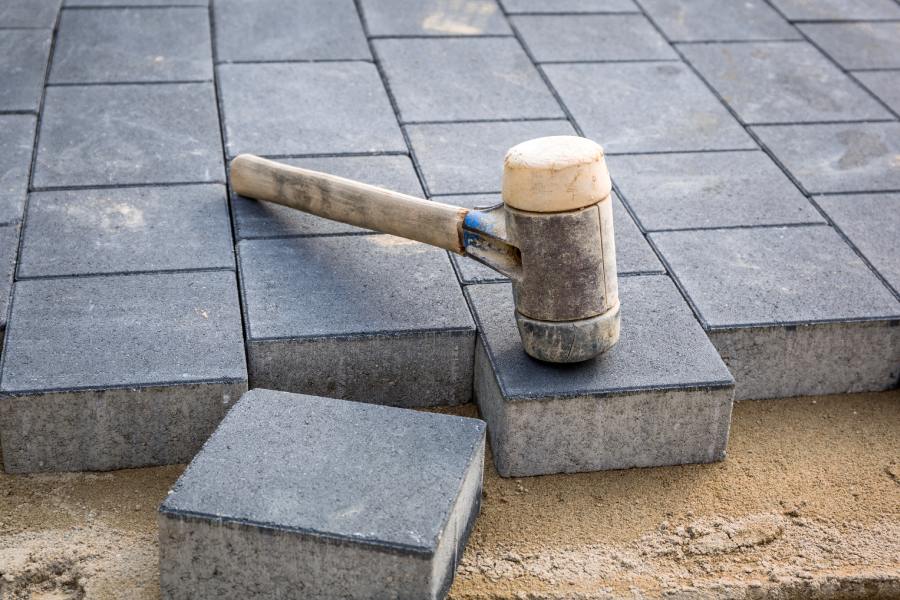
Score a line along your marked measurement using a carbide-tipped masonry chisel, working from one edge to the other. Make several passes with controlled hammer strikes, gradually deepening the score line on all sides of the paver.
Position the chisel in the score line and deliver one firm strike to split the paver cleanly along your marked line. For best results, place the paver on sand or a piece of wood to absorb shock and prevent uneven breaks.
Safety precautions when cutting pavers
Always wear ANSI-approved safety glasses, ear protection, a dust mask, and heavy-duty work gloves when cutting pavers. Work in a well-ventilated area, preferably outdoors, and keep your work area clear of debris and bystanders.
When using power tools, ensure all guards are in place and electrical connections are properly grounded. Keep water away from electrical components, and position yourself firmly with both feet on level ground while operating cutting equipment.
How to Cut Pavers for Curves
Cutting pavers for curves requires precision, patience, and proper technique. Follow these steps to achieve professional-looking curved edges that will enhance your hardscaping project.
- Plan your layout with a flexible PVC pipe or garden hose, adjusting until you achieve the desired shape. Transfer this outline onto the pavers needing modification.
- Mark each paver individually, accounting for joint spacing and angle. Draw cutting lines on the top and sides for visibility.
- For gentle curves, make a series angled straight cuts along the curve’s path, positioning the saw blade carefully. For tighter curves, use multiple small cuts for a smoother shape and consistent spacing.
- Finish by smoothing rough edges with a masonry rub stone for a polished, safe-to-handle result.

Conclusion
Mastering paver cutting techniques opens up endless possibilities for your hardscaping projects. Whether you’re working with straight lines or crafting elegant curves, the skills and knowledge shared in this guide provide a solid foundation for achieving professional results.
Remember that successful paver cutting comes down to careful planning, proper tool selection, and attention to safety precautions. As you learn how to cut pavers confidently, you’ll find yourself tackling more ambitious designs and creating truly custom outdoor spaces.
Take your time with each cut, maintain your tools properly, and always prioritize safety. With practice, you’ll transform ordinary pavers into stunning architectural elements that elevate your landscape. Ready to start cutting? Grab your tools, follow these guidelines, and watch your hardscaping vision come to life.
