How to Replace Window Seals

Maintaining the integrity of your home’s windows is crucial for energy efficiency, comfort, and protection against the elements. Over time, window seals can wear out, leading to drafts, moisture infiltration, and increased energy bills.
Recognizing the signs of failing seals and knowing how to address them can save homeowners significant time and money in the long run. Foggy double-pane windows, unexpected drafts, and water seepage around window frames are common indicators of seal failure.
Understanding how to replace window seals is a valuable skill for any homeowner. This guide will walk you through the essentials of window seal maintenance and replacement, providing you with the knowledge to tackle this common household issue.
From identifying different types of window seals to gathering the necessary tools and materials, we’ll cover everything you need to know to keep your windows in top condition. Let’s dive into the world of window seal replacement and empower you to maintain your home’s comfort and efficiency.

How to Replace Window Seals
Window seal replacement is a crucial home maintenance task that can significantly improve your home’s energy efficiency and comfort. This process involves removing old, worn-out seals and installing new ones to prevent drafts, moisture infiltration, and heat loss.
By following these steps, you can effectively replace your window seals and enjoy a more comfortable living environment.
- Planning and preparation
Before starting the window seal replacement process, thorough planning and preparation are essential. Begin by assessing the number of windows that need new seals and determine your budget for the project.
Research different types of seals available in the market and choose the most suitable option for your windows and climate. Create a list of necessary tools and materials, including utility knives, scrapers, cleaning supplies, and the new seals themselves.
Proper planning helps avoid unexpected issues and ensures a smooth replacement process. It’s also wise to consider the weather forecast and choose a dry day for the project to prevent moisture-related complications.
- Identifying the problem
To identify the problem, look for common signs of seal failure, such as drafts around windows, fogging between window panes, or visible cracks and gaps in the existing seals.
Conduct a thorough inspection of all your windows, paying close attention to the corners and edges where seals are most likely to deteriorate. On windy days, feel for air leaks around the window frames. You can also use a flashlight to spot small gaps or cracks that might not be immediately visible.
By correctly diagnosing the problem, you can address the issue effectively and avoid unnecessary work or expenses, or even premature window replacement.
- Choosing the right seals
Selecting the appropriate window seals is critical for durability and performance. There are several types of seals available, including adhesive foam, rubber, silicone, and EPDM (ethylene propylene diene monomer). Adhesive foam seals are easy to install and work well for small gaps.
Rubber seals offer durability and flexibility, making them suitable for various window types. Silicone seals provide excellent weather resistance and are ideal for areas with extreme temperature fluctuations. EPDM seals are known for their longevity and resistance to weathering, making them popular in commercial applications.
When making your selection, consider factors such as your local climate, window type, and the size of the gaps you need to seal. Choosing the right seal material ensures long-lasting performance and prevents the need for frequent replacements.
- Removing the old seals
The process of removing old seals requires care and patience to avoid damaging the window frame or glass. Start by preparing the area around the window, and removing any curtains, blinds, or other obstructions. Protect nearby surfaces with drop cloths to catch any debris. Using a utility knife, carefully score along the edge of the old seal to loosen it.
Gently peel off the seal using a scraper, working slowly and methodically. For stubborn seals, you may need to apply heat to soften the adhesive. Be extra cautious around corners and joints where the seal may be more firmly attached.
If you encounter resistance, take a break to avoid frustration and potential mistakes. Remember, the goal is to remove the old seal completely without damaging the window or frame, which can save you from costly window replacements later.
- Cleaning the window frame
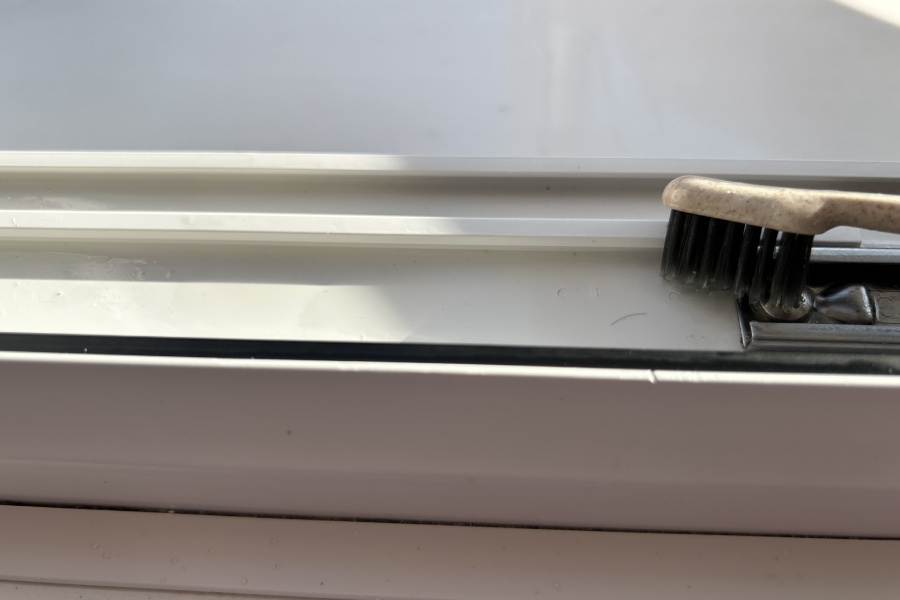
A clean surface ensures proper adhesion of the new seals and extends their lifespan. Start by using a mild detergent or window cleaner to remove any dirt, debris, or grime from the frame.
Scrub gently with a soft brush or cloth, paying extra attention to corners and crevices where dirt tends to accumulate. Rinse the frame thoroughly with clean water and allow it to dry completely.
If there’s any adhesive residue from the old seals, use a commercial adhesive remover and a plastic scraper to eliminate it. Be careful not to scratch the frame during this process. After removing the adhesive, wipe the area clean with rubbing alcohol to ensure a pristine surface for the new seals.

- Measuring and cutting the new seals
Measure the length and width of each window frame carefully, adding a small extra length for overlap if needed. It’s always better to cut the seal slightly longer than necessary, as you can trim excess later.
When cutting the seals, use sharp scissors or a utility knife to ensure clean, straight cuts. For corner joints, cut at a 45-degree angle for a professional finish. Take your time with this step, as precise cuts will result in a neater appearance and better performance.
Double-check your measurements before making any cuts to avoid wasting material. Remember, a proper fit is crucial for preventing drafts and ensuring the longevity of your new seals.
- Installing the new seals
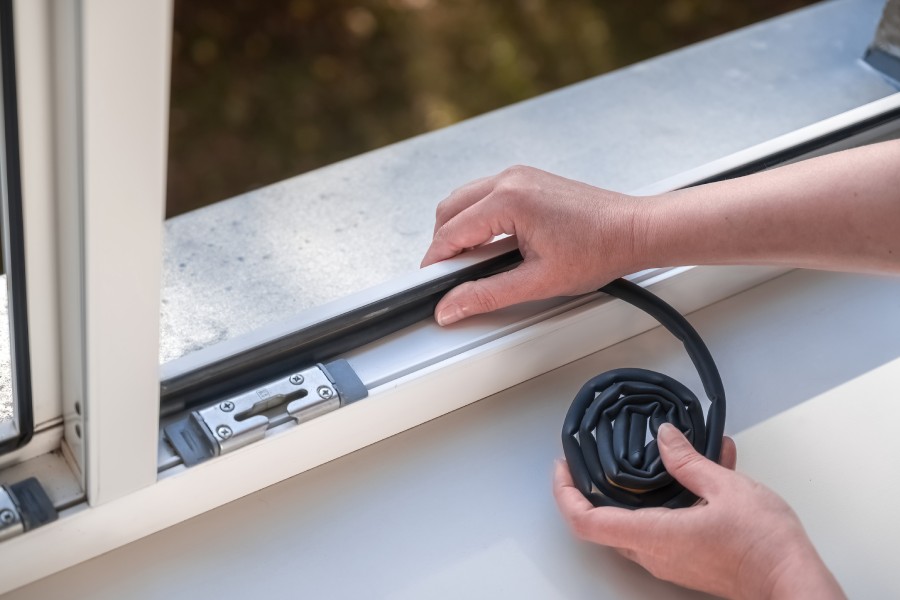
The installation process varies depending on whether you’re using adhesive or non-adhesive seals. For adhesive seals, start by peeling off the backing in small sections to avoid the seal sticking to itself. Press the seal firmly into place along the window frame, working slowly to prevent air bubbles or misalignment.
For non-adhesive seals, fit them into the grooves or channels of the window frame, using a plastic tool to push them securely into place. Ensure the seal is seated properly along its entire length.
As you install, continually check that the seal is straight and even. Make any necessary adjustments before the adhesive sets or before fully seating non-adhesive seals. Trim any excess material for a clean finish. Proper alignment and secure attachment are crucial for the seal’s effectiveness.
- Testing the seal
After installation, it’s important to test the new seals for effectiveness. Start by feeling around the edges of the window for any air movement. On a windy day, this test can be particularly revealing.
You can also use a candle flame to detect subtle air currents – any flickering of the flame near the window edges could indicate a leak. For a more thorough assessment, consider using a thermal camera to detect temperature differences around the window or performing a smoke test to visualize air leaks.
These tests ensure that the new seals are providing the intended insulation and draft protection. If you detect any issues, address them immediately by adjusting or replacing the problematic sections of the seal.
- Finishing touches
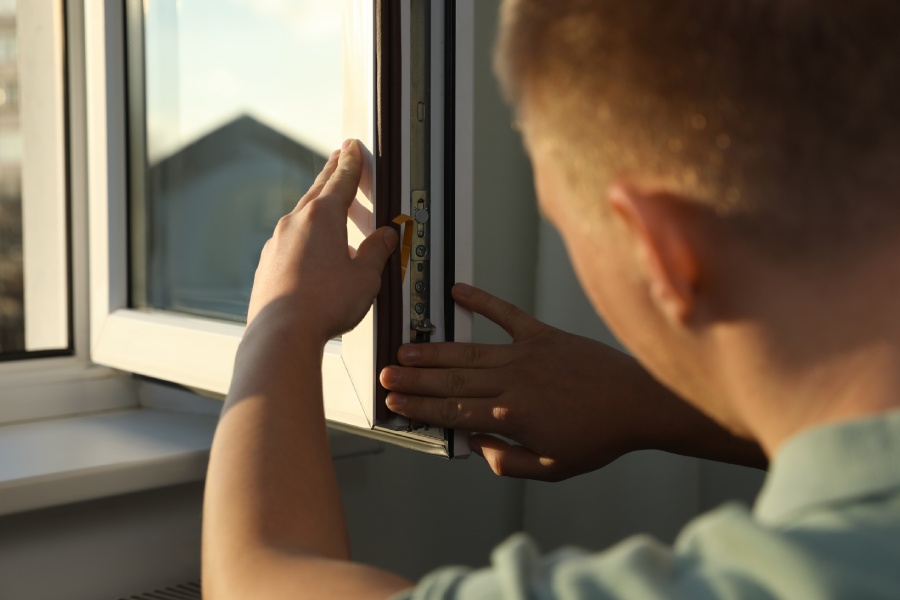
The final step in the window seal replacement process involves inspecting your work and making any necessary adjustments. Look closely for any gaps or misalignments in the newly installed seals. Check that all corners are properly sealed and that the window operates smoothly after the installation.
Smooth out any wrinkles in the seal and trim any excess material for a neat appearance. If you notice any remaining small gaps, apply additional sealant as needed. These finishing touches are important not only for aesthetics but also for ensuring maximum effectiveness of the new seals. Additionally, new or well-maintained windows contribute to increased property value, making this effort a worthwhile investment in your home.
A well-finished job will provide better insulation, reduce energy costs, and enhance the overall comfort of your home. Take pride in your work and enjoy the improved performance of your newly sealed windows.
How Long Do Window Seals Last
Window seals typically last between 10 to 20 years, but their lifespan can vary depending on factors such as climate, material quality, and maintenance. Regular cleaning with mild soap and water, annual inspections, and gentle handling can significantly extend their durability.
Different types of seals have varying lifespans; for instance, rubber seals might last 5-10 years, while silicone seals can endure for 20 years or more. Signs of seal failure include visible cracks, drafts, and condensation between window panes.
Environmental conditions like extreme temperatures, UV exposure, and high humidity can accelerate seal degradation. To maximize seal longevity, consider using window treatments to reduce UV exposure, installing window screens to shield against debris and moisture, address small issues promptly, and schedule periodic professional inspections.

Conclusion
Learning how to replace window seals is an invaluable skill for homeowners, offering both immediate and long-term benefits. This guide has equipped you with the knowledge to tackle this crucial home improvement task confidently.
By following the steps explored in this guide, from initial assessment to final installation, you can effectively enhance your home’s energy efficiency and comfort. Regular maintenance and timely replacement of window seals not only reduce energy costs but also prevent more severe window-related issues.
Armed with this newfound expertise, you’re now prepared to keep your windows in optimal condition. This ensures they continue to safeguard your home against the elements while providing clear views and ample natural light for years to come. Remember, proactive window care is an investment in your home’s future.
