How to Repair Water Damage on Ceiling

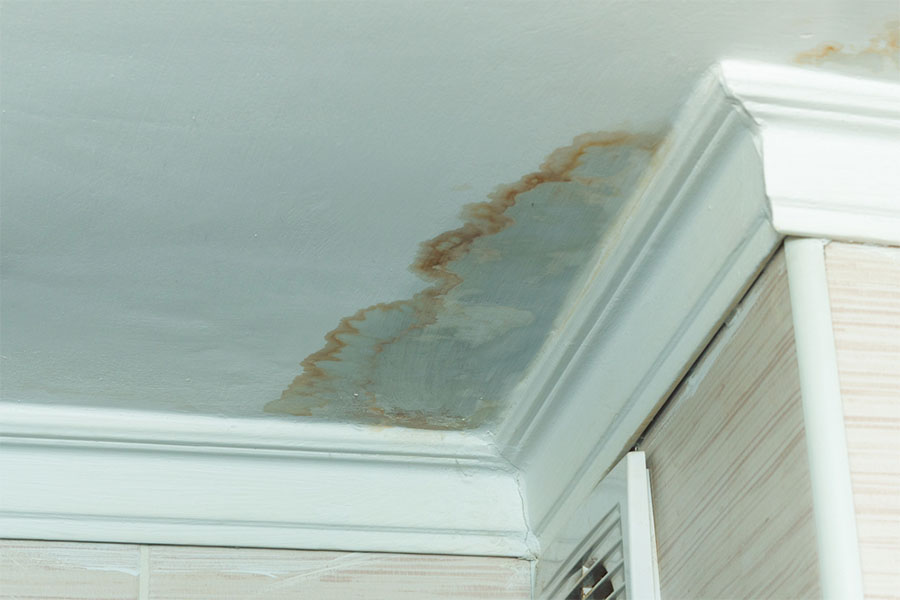
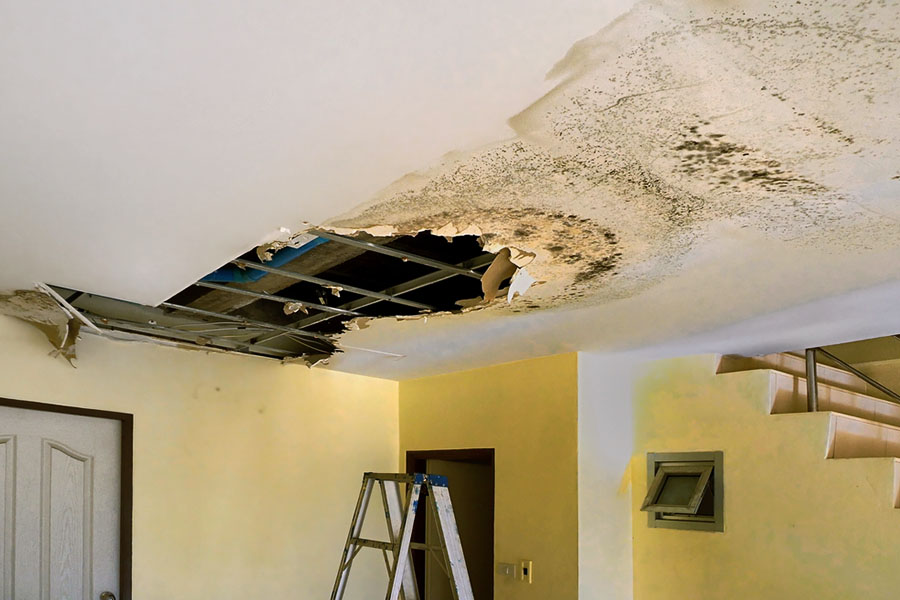
Water stains, sagging, or crumbling sections – these are all signs of water damage affecting your ceiling. Whether caused by a leaky roof, burst pipe, or indoor humidity issues, it’s crucial to address ceiling water damage promptly. If left unchecked, it can lead to structural deterioration, mold growth, and even collapsed drywall or plaster.
This guide will walk you through the complete process for how to repair water damage on ceiling. We’ll show you how to find and fix moisture sources, remove and replace damaged ceiling materials, address mold problems, and properly dry the area.
You’ll learn techniques for resurfacing, retexturing, and repainting to restore your ceiling to like-new condition. From small stains to extensive damage, we’ll provide step-by-step instructions tailored to different levels of ceiling damage.
Follow along to repair water-damaged ceilings confidently, preventing further issues and reviving the look of your interior spaces.

Source: shutterstock.com / Photo Contributor: Afanasiev Andrii
How to Identify the Source of the Water Damage
Identifying the source of water damage involves a thorough inspection of the roof. Look for damaged shingles, cracked or missing flashing, and granule loss indicating aging shingles.
Check bathrooms and kitchens above the affected area for plumbing leaks around toilets, showers, sinks, supply lines, and drain pipes. Look for water stains, dampness, and mold growth as well.
Examine HVAC systems for condensation issues due to inadequate insulation or drainage. Check for clogged condensate drain lines causing water backup. Look for dampness or mold in HVAC components as well.
By carefully inspecting these common sources, you can pinpoint the root cause of the water damage and take appropriate action to address it.
Safety Precautions and Measures
Prioritizing safety is crucial when repairing water-damaged ceilings due to potential hazards like weakened structures, falling debris, electrical risks, and mold exposure. Wear proper personal protective equipment (PPE), including sturdy non-slip gloves, safety goggles or glasses, and a respirator mask. This will protect you against sharp debris, falling particles, and mold inhalation.
Access the ceiling using a well-maintained, secure ladder or scaffolding set up according to manufacturer guidelines. Avoid overreaching or leaning excessively, and keep the work area clear. By following these safety measures, you can significantly reduce risks and ensure a successful repair project.

Source: shutterstock.com / Photo Contributor: oneSHUTTER oneMEMORY
How to Repair Water Damage on Ceiling (Step-by-Step)
1. Prepare the area
Before starting the repair process, it’s essential to prepare the work area properly. First, move any furniture that might obstruct your workspace, and cover the floor with drop cloths or tarps to protect it from dust and debris. Ensure fragile items are safely relocated or covered.
Next, gently remove any loose or peeling paint from the damaged ceiling area using a putty knife or scraper. This will create a clean surface for better adhesion of the new materials, but take care not to damage the underlying drywall during this process.
2. Cut out the damaged section
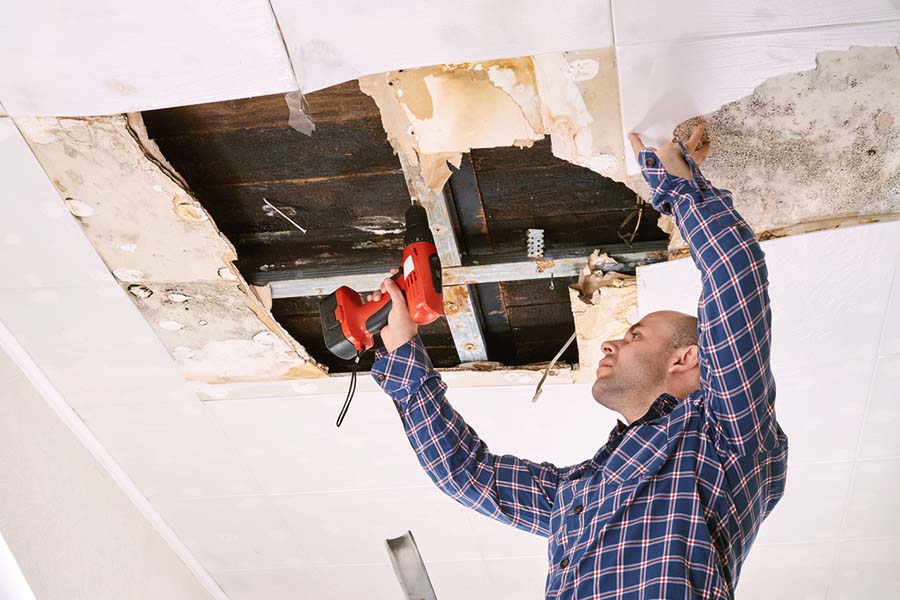
Using a utility knife or drywall saw, carefully cut along the perimeter of the damaged area, making straight, clean cuts. Avoid damaging the surrounding drywall or framing while cutting. Remove all wet, moldy, or damaged drywall, ensuring no moisture remains to prevent mold growth.
Check for any hidden moisture sources beyond the visible area, and inspect the ceiling joists or trusses for signs of water damage or rot. Address those issues before proceeding with repairs. If the damage extends into the framing, consult a professional contractor for further evaluation and repairs.
3. Dry the area thoroughly
Allow the exposed area to dry completely using fans and dehumidifiers if necessary. Verify that no moisture remains by using a moisture meter to check the dryness levels. Wait until the readings are within acceptable ranges before proceeding with repairs.
Ensuring the area is completely dry is crucial to prevent further moisture-related issues. If necessary, use a dehumidifier to remove any lingering humidity in the space. Consider running fans and dehumidifiers for an extended period to ensure thorough drying.
4. Repair the ceiling
For small holes, cut a drywall patch slightly larger than the hole and secure it with drywall screws or adhesive, ensuring a flush, level surface for finishing. For larger areas, measure and cut a replacement drywall piece to fit the hole. Attach it securely with drywall screws or nails, ensuring a level installation.
Use drywall shims or support boards if needed to maintain a flat surface. If the area is extensive, consider hiring a professional drywall contractor for a more seamless and durable repair.
5. Apply joint compound
Using a putty knife or drywall taping knife, apply joint compound over the seams, screw/nail holes, and the edges of the new drywall or patch. Feather the edges to blend smoothly with the existing ceiling. Allow the joint compound to dry completely, then sand the area smooth for a seamless finish.
Wipe away any dust before priming and painting. Apply multiple thin coats of joint compound if needed for a smoother finish. Ensure proper ventilation during this step to avoid inhaling dust particles.
6. Prime and paint the ceiling
Apply a high-quality primer evenly over the repaired area, following the manufacturer’s instructions for drying times. Use a brush or roller designed for smooth surfaces to achieve an even application. Once the primer is dry, use matching paint or a close color match to paint the repaired area.
Apply the paint evenly and blend it into the existing ceiling for a uniform look. Consider applying two coats of paint for better coverage and a professional finish. Take necessary precautions, such as covering surroundings and ensuring proper ventilation, to avoid paint spills or fumes.
When to Call a Professional
While some water damage can be addressed with DIY repairs, it’s advisable to call in professionals in certain situations. These include when the damage is extensive or the leak’s source cannot be identified.
It’s also important to seek professional help if there are signs of structural damage or mold growth or if the homeowner is uncomfortable with the water damage repairing process. Extensive damage across multiple rooms is a valid reason to seek professional assistance.
Other reasons include hidden moisture pockets, visible cracks, warping, sagging floors or ceilings, and mold presence. Complex repairs requiring specialized tools or access to tight spaces also warrant professional help. This ensures proper evaluation, repair, and prevention of further issues.

Source: shutterstock.com / Photo Contributor: volkovslava
How long to repair ceiling water damage?
The time required to repair ceiling water damage can vary significantly depending on the extent of the damage and the type of repair needed. Minor damage may only take a few days, while major repairs involving structural work could take weeks.
Conclusion
Repairing water damage on ceilings requires patience, attention to detail, and a commitment to safety. Learning how to repair water damage on ceiling can help you effectively restore it.
Start by identifying the source and taking precautions. Then, cut out damaged areas and properly dry them. Repair with new drywall or patches, apply joint compound and repaint.
With the right approach, you can revive your ceiling’s appearance and integrity. This can be achieved through DIY efforts or by hiring experts. It will help prevent further moisture problems. A well-executed ceiling repair not only enhances your home’s aesthetics but also protects against costlier issues down the line.
