 (2)")
How to Repair Fire Damaged Wood
After a fire, you may feel overwhelmed by the damage to wooden structures. Fire-damaged wood not only looks bad but also risks its structural integrity. Yet, knowing how to repair fire damaged wood, you can restore it to its former glory.
In this guide, we explore the steps you need to take and navigate various practical methods to achieve great results. While the task may seem daunting, with the right approach and techniques, it is possible to breathe new life into fire-damaged wood.
We will walk you through the intricate process of reviving fire-damaged wood. Let’s regain the beauty and functionality of your cherished wooden pieces!
How to Repair Fire Damaged Wood
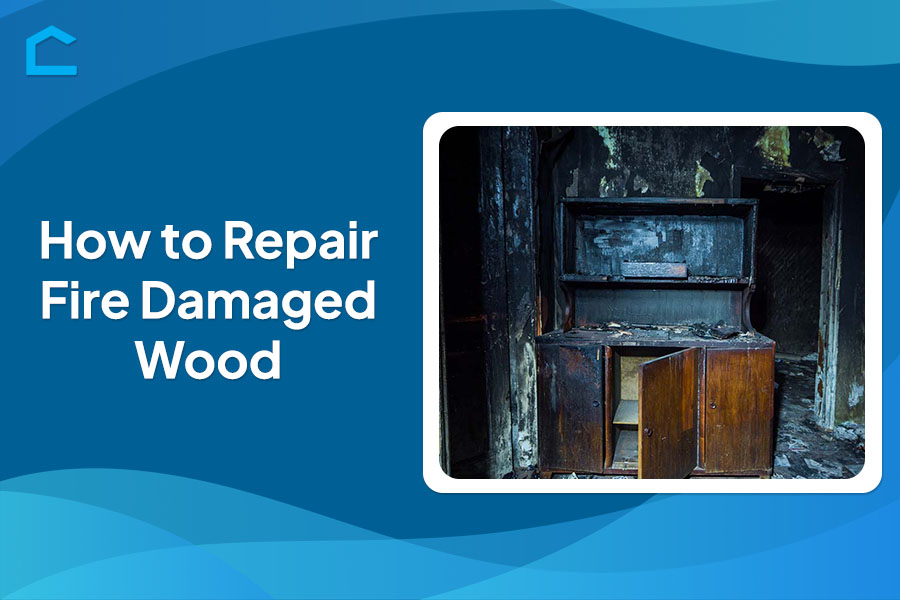
If you’re facing the aftermath of a fire, repairing damaged wood can feel daunting. Whether it’s in your home or another structure, fire damage can affect both appearance and structural stability.
But can you repair burnt wood? Yes, it’s possible to some extent through techniques like sanding, wood filler, and refinishing. However, extensive fire damage may require full replacement of the affected wood pieces. Now, here are our guidelines to help with that:

Source: shutterstock.com / Photo Contributor: CemoLmages
Assessing the damage
Before beginning any repairs, you need to carefully assess the extent of the fire damage to the wood. Inspect the affected area thoroughly and look for signs of charring, discoloration, or any cracks or structural weaknesses.
Then, gently tap the wood with a hammer to check for a solid or hollow sound, as a hollow sound may indicate internal damage that needs to be addressed. Pay close attention to any areas that appear significantly weakened or compromised. Take note of the extent of the damage, as this will help you determine the appropriate repair methods.
Removing surface soot and debris
Once you’ve evaluated the damage, the next step is to remove any surface soot and debris. You can use a soft-bristle brush to gently brush away any loose soot or charred particles.
Next, vacuum up any remaining debris to ensure a clean surface. If necessary, mix a mild soap with warm water and use a clean cloth to wipe down the surface, taking care not to rub too hard and cause further damage.
You should then rinse the area thoroughly with clean water. Avoid using harsh chemicals or abrasives, as they may further damage the wood. We advise you to work in small sections and be patient during this process.
Sanding and cleaning
Light sanding is often necessary to remove any remaining charred or damaged areas. You can use fine-grit sandpaper and sand in the direction of the wood grain.
For those stubborn stains that won’t budge, try mixing baking soda and water to make a paste. Gently rub this paste onto the stained areas before rinsing and wiping with a damp cloth. But remember, don’t go too hard with the sanding—it could end up causing more harm than good.
Preparing for repair
Before you start any repairs, it’s important to prepare the wood surface. Use a clean cloth to apply a wood conditioner. Let it soak in—this helps the wood absorb stains or repair materials evenly, avoiding blotches or uneven color.
Additionally, the wood conditioner improves how well the wood absorbs repair materials, ensuring a smooth and durable fix. You must follow the manufacturer’s instructions closely when applying the conditioner.
Filling cracks and gaps
Once you’ve prepared the surface, it’s time to address any cracks or gaps in the wood. Use a wood filler or epoxy resin, pressing it firmly into the cracks or gaps. Select a filler color that matches the wood tone closely; test it on a small, inconspicuous area first to ensure a good match.
You must allow the filler to dry completely before proceeding to sand and blend the filled areas for a seamless finish. Take your time and work carefully to achieve a smooth, even surface.
Sealing and protecting
The final step is to seal and protect the repaired wood. To do this, you should apply a wood sealer or stain to the repaired areas, using a brush or clean cloth for even application.
Sealing the wood helps maintain its appearance and provides a barrier against moisture and wear. This protection helps safeguard your repairs from future damage.
You must also follow the manufacturer’s instructions carefully for best results. Consider applying multiple coats for added protection and durability. This will ensure your repairs last for years.
Replacing Irreparably Damaged Wood
When wood sustains minor fire damage, it’s often fixable, but extensive damage might mean replacing it. Check for charring, cracks, brittleness, and overall structural integrity. If the wood is too compromised, replacement is necessary.
If you’re unsure about repair feasibility, it’s best to get a professional evaluation. Any permanently damaged wood has to be removed and disposed of properly.
Now, before installing new wood, prepare the area accordingly. Make sure the replacement wood matches the original species, grade, and intended use. You can tackle it as a DIY project with the right techniques if it’s a minor replacement.
However, it’s safer to enlist qualified professionals for major structural replacements. Once the replacement is done, finish and seal the wood to protect it from further damage.

Source: shutterstock.com / Photo Contributor: Vladimir Mulder
Conclusion
Restoring damaged wood is essential for aesthetics and structural integrity in the wake of a fire. With the right approach, techniques, and understanding, you might repair fire-damaged wood and breathe new life into your cherished wooden pieces.
We discussed each step on how to repair fire damaged wood, from assessing the damage to selecting appropriate repair methods. With these steps, you may achieve seamless repairs, ensuring the beauty and functionality of your wooden structures.
Remember, while minor repairs can often be managed as DIY projects, extensive damage requires professional assistance to ensure safety and long-lasting results. Take action today!