How to Protect Floor When Painting

Painting is an excellent way to refresh your living space and give it a new look. However, the process can be messy, and one of the biggest concerns homeowners face is protecting their floors from paint drips, splatters, and spills.
Whether you have hardwood, tile, or carpet, it’s crucial to take the necessary precautions to keep your flooring safe during the painting process. But how to protect floor when painting? In this article, we’ll explore various methods and materials you can use to ensure your floors remain pristine while you transform your walls.
From preparing your space to choosing the right protective coverings, this comprehensive guide will cover all the ways to ensure that your floors remain spotless. With our tips you can approach your painting project with peace of mind, knowing that your floors are well-protected. So, let’s dive in and discover the best ways to keep your floors looking their best!

Source: shutterstock.com / Photo Contributor: Trzykropy
How to Protect Floor When Painting
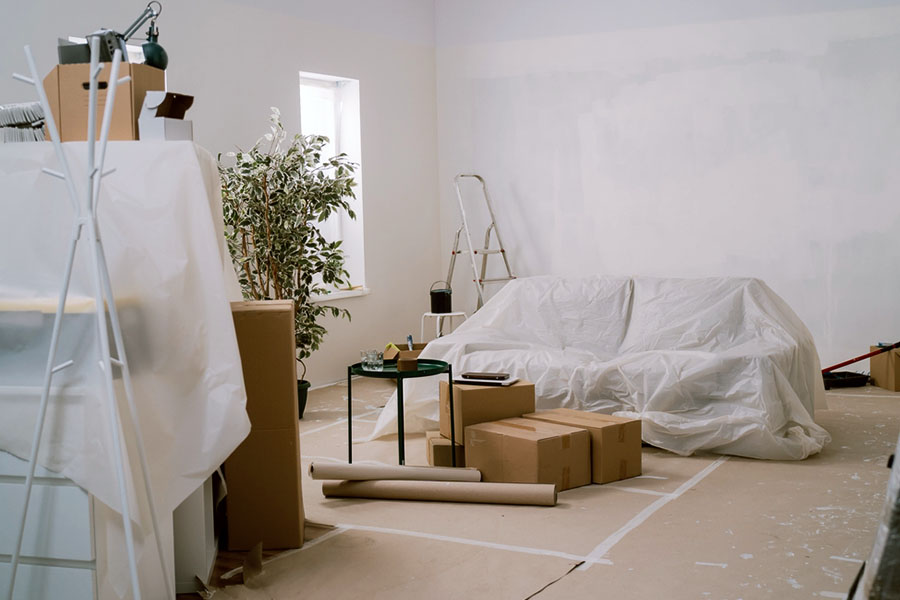
How to protect floor when painting? To protect your floor while painting, lay down drop cloths or plastic sheets and secure them with painter’s tape. Remove furniture to prevent accidental paint splatters.
Consider using rosin or builder’s paper for larger areas or carpeted floors. Be mindful of where you step to avoid tracking paint. These steps will keep your floor clean and free from paint drips or spills during your painting project.
Preparing the Workspace
Clearing and Cleaning the Room
To begin, remove all furniture and obstacles from the room. If there are items that cannot be removed, place them in the center of the room and cover them with plastic sheeting. Next, thoroughly clean the floor surface before laying down any protective materials.
Sweep or vacuum the floor to remove dust, dirt, and debris. If necessary, mop the floor to ensure it is free from any residue that may interfere with the adhesion of protective coverings.
Addressing Floor Imperfections and Other Precautions
Inspect the floor for any cracks, holes, or imperfections. Use a suitable patching compound to fill in any gaps or cracks, following the manufacturer’s instructions. Allow the patched areas to dry completely before proceeding.
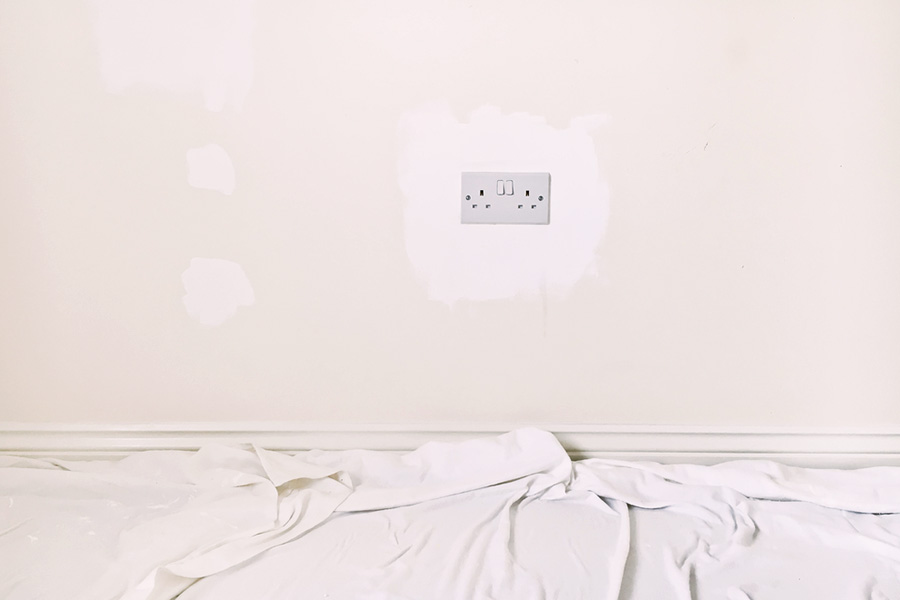
As an additional precaution, take down any wall fixtures, such as curtain rods, picture frames, or light switch covers. Don’t forget to cover electrical outlets and switches with painter’s tape or plastic covers designed for this purpose.
By properly preparing the workspace, you’ll create a safe and efficient environment for your painting project. But what to use to protect floors while painting? In the next section, we’ll discuss the various materials you can use to protect your floors during the painting process.
Floor Protection Options
Drop Cloths
Drop cloths are a versatile choice for protecting floors during a painting project, as they come in various materials to suit different needs. When selecting a drop cloth, it’s essential to choose the right size that can adequately cover the area you’re working on.
Once you have the appropriate drop cloth, spread it evenly across the floor, ensuring no gaps or overlaps. Finally, secure the edges with painter’s tape. This helps prevent the drop cloth from shifting or bunching up. It ensures a smooth and secure protective covering during your painting project.

Source: shutterstock.com / Photo Contributor: Tom Gowanlock
Carpet Film
Carpet film is ideal for protecting carpeted floors during painting. It’s self-adhesive, creating a barrier. Clean the carpet, then apply and firmly press down the film. Ensure the film covers the entire area you want to protect.
Smooth out any wrinkles or air bubbles for a seamless application. Trim excess film along baseboards or edges for a neat finish. Once the painting is complete, carefully peel off the film, revealing a clean, undamaged carpet beneath.
Adhesive Mats
Adhesive mats offer a versatile solution for protecting various floor types during a painting project. With their sticky backing, these mats can adhere to hardwood, tile, or any smooth surface. Adhesive mats provide a non-slip surface, ensuring a safe working environment.
They are easy to reposition and can be trimmed to fit specific areas or corners. Adhesive mats are a convenient and reliable choice for keeping your floors clean and protected throughout your painting project.
Applying Floor Protection Materials
First, ensure the floor is clean and dry before applying any protection materials.
For drop cloths:
- Unfold them slowly, keeping them flat and wrinkle-free
- Overlap the edges of multiple drop cloths by at least 6 inches
- Secure the edges with painter’s tape, paying extra attention to doorways and baseboards
- Consider using a second layer in high-traffic areas for added protection
When using adhesive mats, the application process is straightforward. These mats are easy to apply and provide a non-slip surface.
- Peel off the backing
- Place the mat on the floor, aligning it with the room’s edges
- Press firmly to remove air bubbles and ensure good adhesion
- To cover larger areas, overlap the mats and use a utility knife to cut them around obstacles
Regardless of the protection material you choose, it’s critical to cover the entire surface area exposed to potential paint drips or spills, including areas near walls, baseboards, and door frames
Take your time and be thorough during the application process. Double-check that all edges are secured without gaps or wrinkles. Use additional protection in high-traffic areas for extra peace of mind. By following these tips, you can ensure your floors remain pristine throughout your painting project.
Painting Techniques to Minimize Spills
Employing proper painting techniques and maintaining a clean workspace can help minimize spills and splatters. Use controlled brush strokes, tapping the brush against the can to remove excess paint.
Apply painter’s tape to protect baseboards and edges, pressing it down firmly and removing it carefully after painting. Choose the right tools, such as high-quality angled brushes for precise cuts and paint rollers with extended handles to reach higher areas safely.
By incorporating these techniques, you can reduce the risk of spills and splatters. Keeping your floors protected throughout your painting project is essential. Maintaining a clean workspace is key to achieving this goal.

Source: shutterstock.com / Photo Contributor: Evgeny Atamanenko
Cleaning Up Spills and Splatters
When cleaning up paint spills and splatters, act quickly to prevent stains from setting. Use a damp cloth or paper towel to wipe up small splatters gently, and a putty knife or similar tool to scoop up larger spills before wiping the area clean.
Choose the appropriate cleaning agent based on your flooring material and the type of paint. For water-based paints, use mild detergent and water. For oil-based paints or stubborn stains, consider mineral spirits, paint thinner, or a commercial paint stripper, but always test on a small area first.
To remove dried latex paint, try a mixture of hot water and ammonia. For dried oil-based paints, use a commercial paint stripper, following the manufacturer’s instructions and wearing protective gear.
While cleaning, use soft cloths or sponges to avoid damaging your floors and make them last longer. Rinse the area thoroughly with clean water to remove any residual cleaning agents. Acting quickly and using the right methods can help you effectively clean up spills and splatters, keeping your floors in top condition.
Conclusion
In conclusion, protecting your floors while painting is essential to maintain their beauty and longevity. By following the tips and techniques discussed in this article, you can confidently tackle your painting projects without the fear of damaging your floors. Remember to choose the right protective materials, secure them properly, and take extra precautions in high-traffic areas.
We hope this guide on “How to protect floor when painting” has empowered you with the knowledge and skills needed to safeguard your floors during your next painting endeavor. Happy painting, and enjoy your newly transformed space with the peace of mind that your floors are well-protected!
