How to Remove Laminate Flooring

Removing laminate flooring can initially seem daunting, but it can be a manageable DIY task with the right tools and techniques. Many of you want to tackle this project yourself, but you need to know how to remove laminate flooring.
In this article, we’ll guide you through the process step by step, providing valuable tips and insights. We’ll begin by discussing the necessary tools and safety precautions you should take before starting the removal process.
By the end of this article, you’ll clearly understand how to efficiently and effectively remove your laminate flooring, allowing you to prepare your space for a fresh new look. Let’s get started!

Laminate Flooring: Preparing for Removal
Before starting the removal procedure, you should gather all essential tools and supplies. Also, you must put safety first by wearing suitable protective equipment.
Tools, materials, and safety precautions
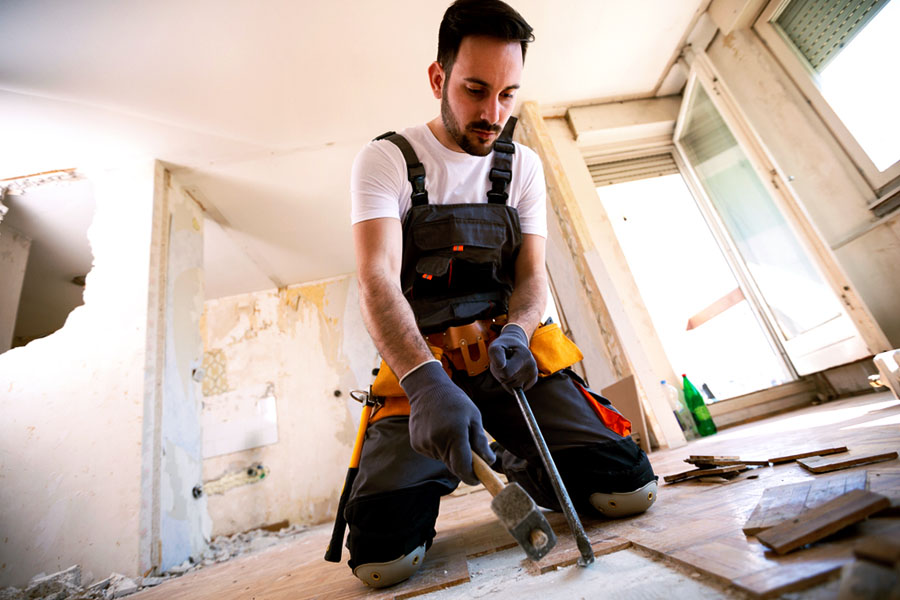
To remove laminate flooring, you need to gather the following tools: a pry bar, hammer, utility knife, measuring tape, and pencil. Depending on your situation, you may also need a reciprocating saw, circular saw, chisel, heavy-duty garbage bags, heat gun, or adhesive remover. Also, before starting:
- Take necessary safety precautions.
- Wear sturdy work gloves, safety glasses, a dust mask, and ear protection if using power tools.
- Clear the room of all furniture and obstructions.
Furthermore, you should work in one room at a time and ensure proper ventilation. Also, keep children and pets away from the work area. If you are unsure about any aspect of the removal process, consult a professional.
Clearing the area
Before starting the laminate flooring removal process, clear the room of all furniture and obstacles for safety, efficiency, and protection. Clearing the room reduces the risk of injury, allowing you to focus solely on removing laminate flooring without damage to your belongings.
So, you should remove all furniture, take down window treatments and wall hangings, and unplug and remove appliances. Cover any remaining items with plastic sheeting to protect them from dust and debris.
How to Remove Laminate Flooring
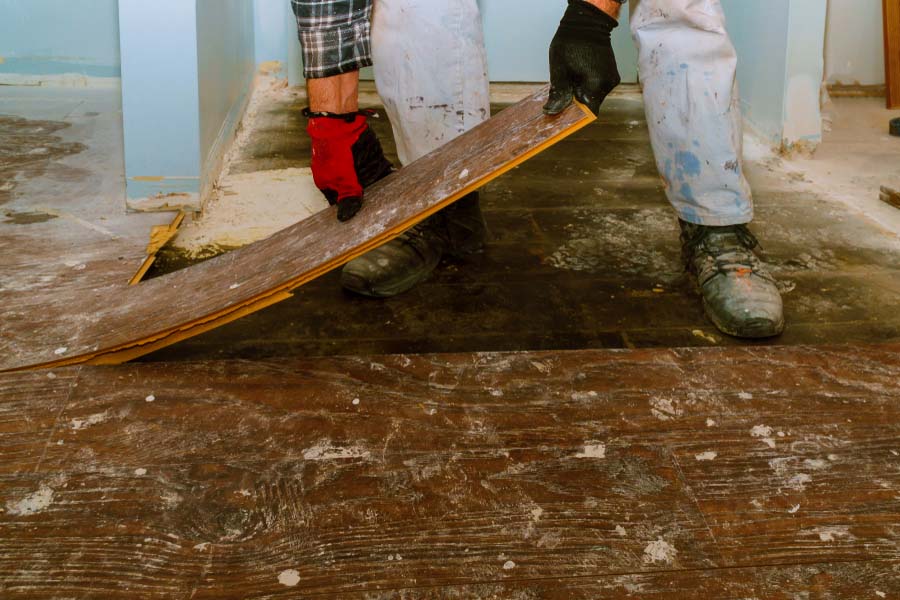
To remove laminate flooring, begin by clearing the room and removing baseboards. Starting at one corner, gently lift and remove the planks using a pry bar or floor scraper.
Once all planks are removed, thoroughly inspect and clean the subfloor to ensure a smooth surface for the new flooring. Proper disposal of the old flooring is essential.
By following these steps meticulously, you can efficiently remove laminate flooring. This prepares the space for a fresh installation, creating a revitalized and updated living environment.
Moreover, removing laminate flooring can be done using different methods, depending on the type of installation and the subfloor material. Here are the methods:
- Floating laminate flooring
- Laminate flooring from concrete
- Glued-down laminate flooring

Removing floating laminate flooring
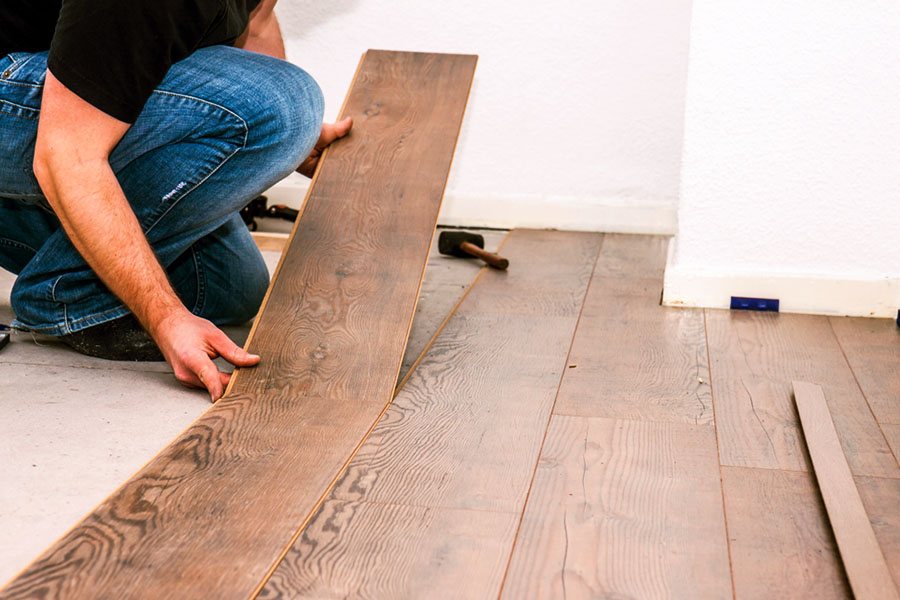
To remove floating laminate flooring, you should begin at the edges of the room. Look for the end of a plank not connected to a wall. Use a pry bar to lift the end of the plank slightly. Insert a spacer or a flat object to keep the plank elevated.
Once the first plank is lifted, move along the edge, lifting and separating the planks one by one. The planks should come apart easily since they are not glued down. But be careful not to damage the subfloor or the underlayment while lifting the planks.
After removing the planks along the edges, work your way inward. Continue lifting and separating the planks until the entire room is cleared. If any planks are difficult to remove, use a hammer to gently tap the pry bar and loosen them.
How to remove laminate flooring from concrete
If your laminate flooring is installed over concrete, start by removing the baseboards and any trim pieces. You can use a utility knife to cut through any caulking or sealant along the edges of the flooring.
However, laminate flooring installed on concrete may be glued down. You can use a heat gun to warm up a section of the flooring to loosen the adhesive. But be cautious not to overheat the laminate, as it can cause damage. Once the adhesive is softened, use a pry bar or a floor scraper to lift the planks.
If some planks remain stubbornly attached to the concrete, you need to use a chisel or an oscillating multi-tool to break them into smaller pieces. Work carefully to avoid damaging the concrete subfloor. Remove any remaining adhesive residue using a floor scraper or an adhesive remover.
How to remove glued-down laminate flooring
Removing glued-down laminate flooring can be more challenging. So, you should start by heating a section of the flooring with a heat gun or a hair dryer. This will soften the adhesive and make it easier to scrape off. Use a floor scraper or a pry bar to lift the planks, working in small sections.
If heating alone doesn’t work, you can use a solvent or an adhesive remover to dissolve the glue. Apply the product according to the manufacturer’s instructions and allow it to sit for the recommended time. Afterward, use a scraper or a putty knife to remove the softened adhesive and lift the planks.
Cleaning and Repairing the Subfloor
To ensure your new flooring goes down smoothly and evenly, start by cleaning and preparing the subfloor once you’ve removed the old laminate. Use a scraper or solvent to clear away any debris, dust, or leftover adhesive.
Next, give the subfloor a good wash with a mild detergent solution, rinse it thoroughly with clean water, and let it air dry completely. Carefully look for any cracks, holes, or signs of water damage. Use a straight edge or level to check for any uneven areas.
Before laying down your new flooring, it’s essential to fix any problems you find. For small cracks, holes, or gaps, apply a patching compound or floor filler. If there’s water damage, make sure to address the source of the problem and allow the subfloor to dry out completely.
If you encounter weak or unstable sections, replace them with sturdy materials and secure them in place using adhesive and screws. By taking these steps, you’ll create a solid foundation for your new flooring to rest upon, ensuring a durable and attractive result.

Conclusion
Removing laminate flooring is a project that most homeowners with the right tools and techniques can tackle. By following the steps outlined in this article, you now understand how to remove laminate flooring efficiently and effectively.
You should remember to prioritize safety, work methodically, and responsibly dispose of old flooring. With your newly acquired knowledge of, you can transform your space and prepare for your next flooring adventure.
